Sometimes, our natural toenails don’t cooperate. Whether due to injury, a medical condition, or simply a desire for flawless, sandal-ready feet, false toenails offer a practical and aesthetic solution. More than just a fashion statement, they are versatile tools for restoration and confidence. This guide will walk you through who they are for, how to apply them, how long they last, and the safe way to remove them.
Who Uses False Toenails and When?
False toenails, also known as artificial toenails or toenail extensions, serve a diverse range of people and situations.
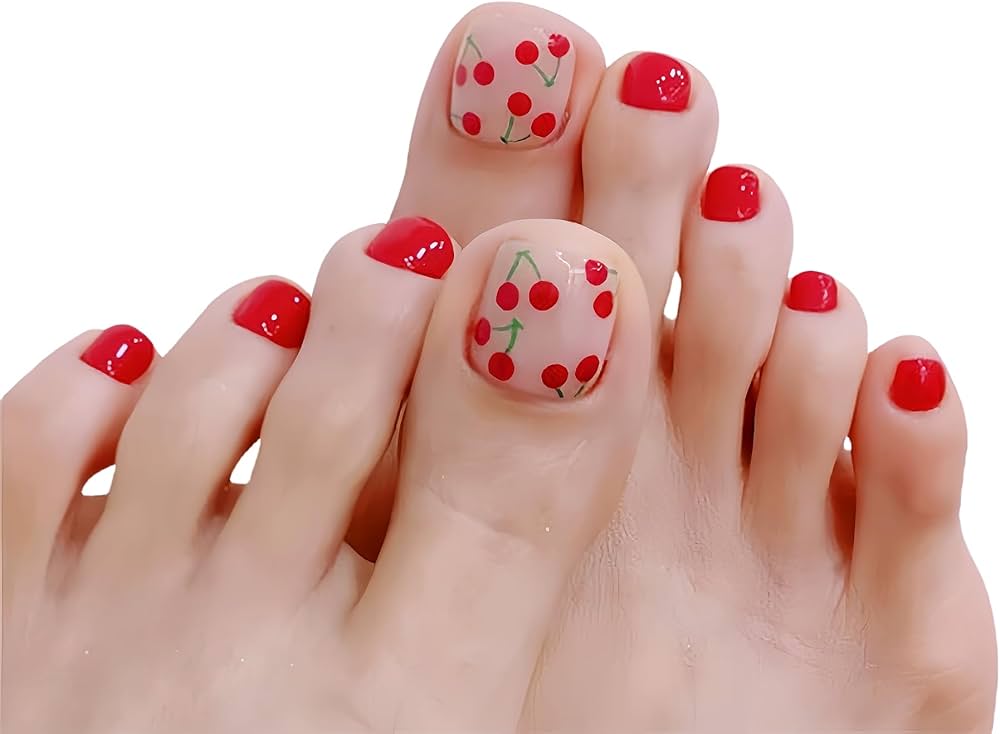
1. The Fashion-Forward Individual: For anyone who loves polished, beautiful feet, false toenails are a quick way to achieve a perfect, salon-quality look. They are ideal for special occasions like weddings, vacations, or a summer spent in open-toed shoes. They provide an immaculate canvas for nail polish that lasts.
2. Those with Cosmetic Imperfections: People with discolored, unusually short, or misshapen toenails can use false nails to create a symmetrical and attractive appearance. This can be a significant confidence booster.
3. Individuals with Medical or Traumatic Issues: For those who have lost a toenail due to a sports injury, a heavy object falling on it, or as a side effect of certain medical treatments, a false nail acts as a protective cover. It shields the sensitive nail bed underneath while a new nail grows back, which can be a slow process taking up to a year or more.
4. People with Fungal Nails: While not a cure, a high-quality false nail can cosmetically cover a toenail affected by fungus, hiding discoloration and thickening. Crucial note: It is essential to consult a podiatrist before applying anything over a fungal nail, as moisture can get trapped and potentially worsen the condition if not managed properly.

The Application Process: Step-by-Step
Applying false toenails requires care and cleanliness to ensure a natural look and prevent damage to your natural nail.
Step 1: Preparation is Key
Start with clean, dry feet. Gently push back your cuticles. Then, using a nail file, lightly buff the surface of your natural toenail. This creates a slightly rough texture, which helps the adhesive bond strongly. The goal is to remove the shine, not to thin the nail. Wipe the nails with an alcohol prep pad to remove all dust and oils.
Step 2: Find the Perfect Fit
False toenails often come in a set with various sizes. Hold different sizes against each of your toenails to find the one that best matches the width of your natural nail. It should sit flush against the sides without overlapping the skin. If it’s too wide, you can carefully file the sides to customize the fit.
Step 3: The Adhesive
Most kits use a strong nail glue. Apply a small, single drop of glue to the center of your natural nail. Too much glue will cause it to ooze out the sides, creating a messy application and a weak bond.
Step 4: Placement and Pressure
Quickly but carefully, place the false toenail at the base of your natural nail (where the cuticle is) and press down firmly. Hold it in place for at least 15-30 seconds to allow the glue to set. Start from the base and press down to the tip to squeeze out any air bubbles and ensure full contact.
Step 5: Shaping and Polishing
Once all the false nails are applied and the glue is completely dry, you can file them to your desired length and shape. After shaping, you can apply a base coat, your favorite nail polish color, and a top coat for a seamless, beautiful finish.

How Long Do False Toenails Last?
The longevity of false toenails depends on the quality of the application, the adhesive used, and your daily activities. On average, a properly applied false toenail can last between 2 to 4 weeks on toes. Toenails grow much slower than fingernails and experience less impact from daily tasks, which contributes to their longer staying power. You will know it’s time for maintenance or removal when you see a gap forming at the cuticle as your natural nail grows out.
The Safe Removal Process
Never peel or pry off a false toenail! This can take layers of your natural nail with it, causing significant damage and weakening it for months.
The safest method involves softening the glue:
1. Soak: Fill a small basin with warm, soapy water. Add a few drops of gentle oil (like olive or jojoba oil). Soak your feet for 15-20 minutes to soften the nails and loosen the adhesive.
2. Gently Encourage Lifting: After soaking, dry your feet. Use a wooden cuticle stick or an orange stick to gently work under the edges of the false nail. Do not force it. If it doesn’t lift easily, soak for another 10 minutes.
3. Slow and Steady: Work your way around the nail, gently lifting as you go. The goal is to dissolve the bond, not to rip the nail off.
4. Clean and Nourish: Once the false nail is off, you may have some residual glue on your natural nail. Gently buff it off. Wash your feet, dry them thoroughly, and massage a nourishing cuticle oil or moisturizer into your toenails and the surrounding skin to rehydrate them.
False toenails are a fantastic innovation, blending cosmetic artistry with practical repair. By understanding who they are for and following the correct steps for application and, just as importantly, gentle removal, you can enjoy beautiful, healthy-looking feet without compromising the well-being of your natural nails.