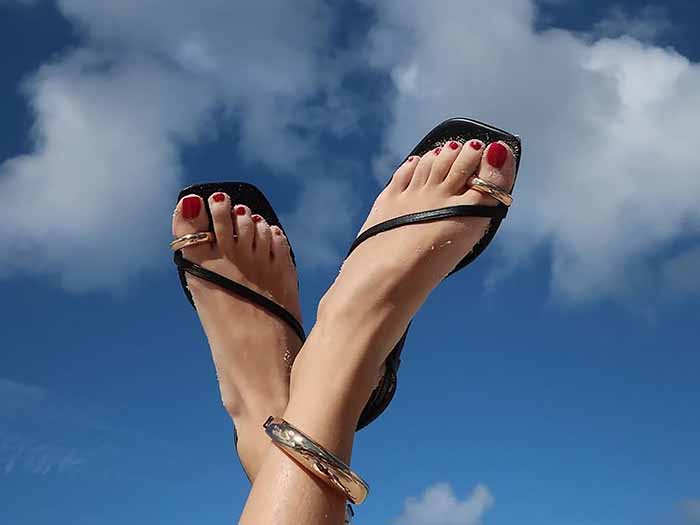
Summer is the season of sandals, barefoot walks on the beach, and poolside lounging. Your feet are on display, so why not turn them into a piece of art? Pedicure art isn’t just for fingernails anymore—it’s a fun, creative way to express your style from the ground up. Here are some trendy designs and simple tips to make your feet sparkle all season long.
Popular Pedicure Art Styles
1. Classic French with a Twist
The French pedicure is timeless: a soft nude or pink base with white tips. For summer, swap the white for a bright neon, pastel blue, or coral. You can also use a metallic silver or gold line for a subtle glam look.
2. Bold Brights
Summer calls for vibrant colors. Hot pink, electric orange, sunny yellow, or turquoise look amazing on toes. Take it further with an ombré effect—blend two or three colors from the cuticle to the tip using a sponge. The gradient creates a dreamy, sunset vibe.
3. Floral Accents
Tiny flowers are a pedicure favorite. Use a dotting tool or a toothpick to paint small petals on your big toes. A single daisy, rose, or tropical flower (hibiscus or plumeria) instantly gives a beachy feel.
4. Geometric Lines and Shapes
Simple stripes, triangles, or dots arranged in patterns look modern and clean. For example, paint a thin horizontal stripe across each toe near the tip, or place three small dots in a triangle shape. Use contrasting colors like white on navy, or black on neon.

5. Glitter and Rhinestones
Sparkle never goes out of style in summer. Apply a glitter top coat over any color, or place a single rhinestone near the cuticle of each big toe. For a more dramatic look, gradient glitter from the tip upward.
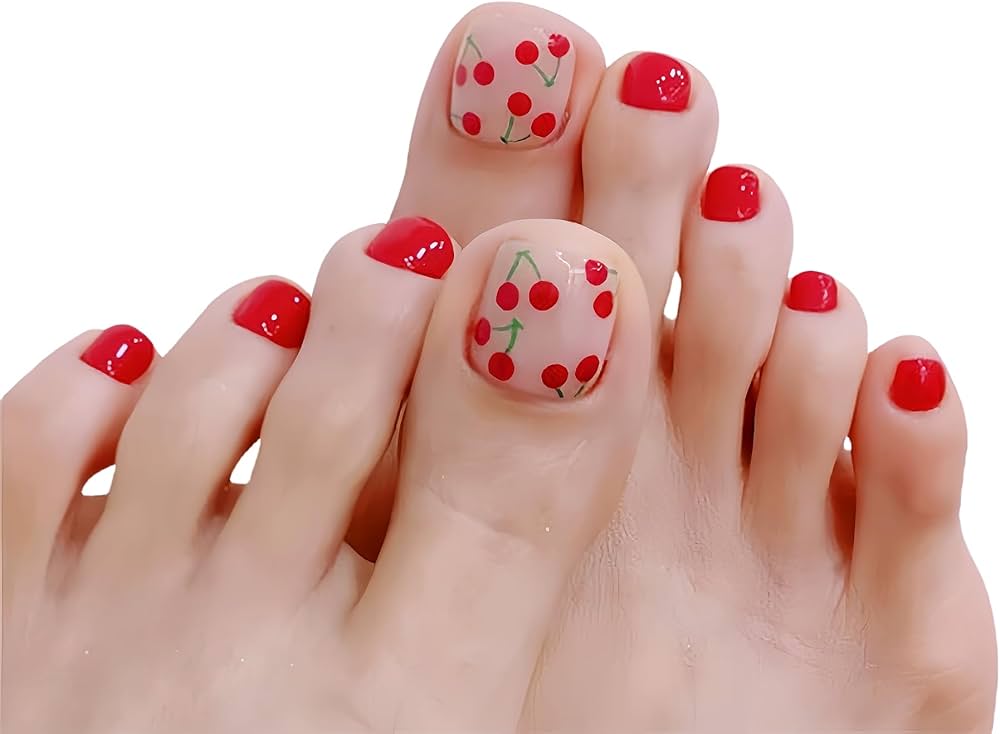
6. Fruit and Food Motifs
Watermelon slices, lemons, strawberries, or even little pineapples are playful and perfect for vacations. Paint a green rind, white inner edge, and pink center with black seeds for a watermelon toe.
7. Negative Space
Leave parts of your natural nail bare. For example, paint two parallel lines down the center of each nail, or a half‑moon at the cuticle. Negative space designs are minimal, chic, and last longer because there’s less polish to chip.
How to Prepare Your Feet for Pedicure Art
Great art needs a great canvas. Follow these steps before you start painting.
Step 1: Soak and Exfoliate
Soak your feet in warm water with Epsom salts for 10‑15 minutes. Then use a pumice stone or foot scrub to remove dead skin, especially on heels and balls of feet. Rinse and dry thoroughly.
Step 2: Shape and Tidy
Trim toenails straight across to prevent ingrown nails. File edges smooth. Gently push back cuticles and trim only loose, dead skin.
Step 3: Moisturize (Then Degrease)
Apply a rich foot cream and let it absorb for at least 30 minutes, or do this step the night before. Just before painting, wipe each toenail with rubbing alcohol or nail cleanser to remove any oil or cream residue. Polish won’t stick to oily nails.

Step 4: Apply a Base Coat
Always use a base coat under your art. It prevents staining and helps the design last longer.
Pro Tips for Long‑Lasting Shine
- Thin layers only. Two or three thin coats are better than one thick coat. They dry faster and chip less.
- Seal the free edge. Run the brush along the nail tip when you apply base coat, color, and top coat. This prevents water from sneaking underneath.
- Use a quick‑dry top coat. A high‑gloss top coat not only protects your art but also adds a glass‑like shine.
- Wear flip‑flops or open‑toed shoes for the first few hours after painting to avoid smudging.
- Apply cuticle oil daily. Healthy, hydrated cuticles make any design look more polished.
Easy Summer Design Ideas You Can Do at Home
- Sunset toe: Paint your big toe with horizontal stripes of yellow, orange, and pink, then blend lightly with a sponge.
- Polka dots: Use a bobby pin or toothpick to dot white or gold over a bright base.
- Stripes: Use thin nail art tape to create parallel lines or a chevron pattern.
- Glitter gradient: Apply a glitter polish to the tip of the nail and drag it downward with a dry brush for a fading effect.
The Bottom Line
Pedicure art turns a simple summer foot care routine into a personal style statement. Whether you love bold neons, delicate florals, or minimalist lines, there’s a design for every mood. With proper prep and a little creativity, your feet will shine from the beach to the backyard barbecue.
So go ahead—slip on those sandals and show off your masterpiece. Summer is short, but your pedicure art can last for weeks.
Got a favorite pedicure design or a question about techniques? Drop a comment – I’d love to hear how you make your feet summer‑ready!
Read also: The Yellow Truth: Your Guide to Brighter, Healthier Toenails